- 5min
A clean engine compartment in just a few steps

A clean engine compartment doesn't just look good. If dirt and grime are not removed, in the worst case this can lead to mechanical problems. These, in turn, can affect performance. A clean engine compartment also helps with better detection of potential leaks, protects against corrosion and simplifies maintenance. In short: Regular cleaning of the area under the bonnet has a positive effect on the longevity and value retention of your vehicle.
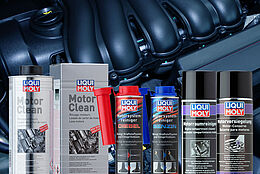
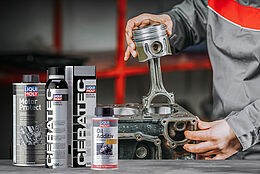
Our care products for the engine compartment help you achieve a clean result step by step.
What to look out for when cleaning the engine compartment
It is important to note that care should be taken when cleaning the engine compartment. Electronic components may be damaged if things are not done correctly.
You also need a suitable place to do the washing. Your own driveway or parking lot are out of the question. This is because oil could leak into the groundwater when the engine compartment is cleaned. You therefore need a place with an oil separator, such as a wash box.
In addition, electrical components such as control units, the fuse box or the alternator in particular should be covered or masked off to protect them from water. It also makes sense to disconnect the battery. The use of a high-pressure cleaner or steam cleaner is not recommended. The powerful jet can cause damage and the steam may penetrate sensitive components.
Note: Some manufacturers advise against cleaning the engine compartment on some models. In a worst case scenario, this could invalidate the warranty.
1. Prepare engine compartment
The engine should be completely cooled down before cleaning of the engine compartment can begin. This is to prevent burns. This also prevents detergents from evaporating and not being effective.
In addition, leaves, coarse dirt and deposits should be removed with a brush or compressed air. This prevents them from sticking to engine parts during cleaning.
2. Mask sensitive parts
Before starting cleaning, all electrical components in the engine compartment should be carefully covered. Sturdy plastic films, plastic bags and waterproof tape are suitable for this. The covers must be tightly sealed so that water and cleaning agents do not damage the sensitive parts. It also makes sense to disconnect the battery.
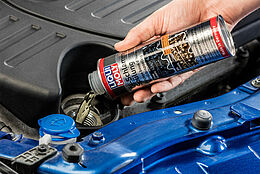
3. Apply cleaner
Now you can start cleaning the engine compartment. Our engine compartment interior cleaner is suitable for this. It dissolves oily and greasy dirt, tar and brake dust. It is free of chlorinated hydrocarbons.
4. Drying
Drying is an important part of cleaning the engine compartment. It helps to remove water residues from confined spaces and crevices. Compressed air is suitable for this. Moisture left in hard-to-reach areas promotes the formation of rust. In addition, all accessible surfaces should be dried with a microfiber cloth. This is important to avoid water stains and to protect the engine components from moisture-related damage.
5. Follow-up check
Once the engine compartment has dried, all the masking affixed for cleaning can be removed again. All electronic connections in the engine compartment should then be checked to ensure that the sensitive areas have remained dry and that nothing stands in the way of restarting the vehicle.
6. Preserving the cleaning result
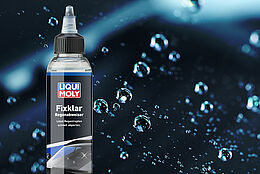
Finally, the cleaning result should be preserved. Our engine seal is suitable for this. This is a high-gloss, water-repellent protective coating. This protects the engine, ignition cable and major assemblies from moisture. It is compatible with rubber and plastic parts.
Dos and don'ts for the engine compartment
Dos
- Regular maintenance and inspections
- Apply sealing agent
- Remove stains immediately to prevent them from spreading and attracting dirt
- Use engine compartment covers
- Check fluid levels (oil, coolant and brake fluid) regularly – irregularities can be an indication of leaks
Don'ts
- Use high pressure cleaner
- Use incorrect cleaning agent
- Ignore maintenance intervals
- Fail to protect electronic components during cleaning